 |
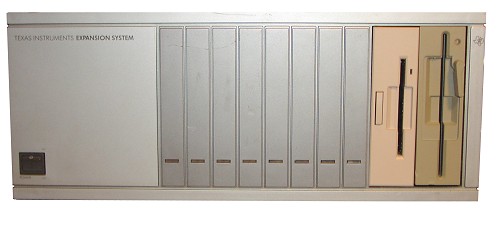
2 Half Height Drives in PEB
|
This project will show how I added 2 half height drives to my PEB. This is a bit of "rig" job so
if you find a better/easier way to do this please feel free to let me know. I wanted to do this after
I upgraded my TI Disk Controller Card to be able to use 80 track drives. For information on how to do
this go here.
For this project you will need a drill as it will require drilling some holes into the PEB. You
could do this without taking the PEB apart but I didn't want to take the chance of getting some metal
fillings into the PEB so I did disassemble mine. There are instructions to disassemble the PEB
here.
For my project I installed a 5 1/4" and a 3 1/2" drive. You can just as easily install 2 5 1/4" drives
if you wish.
|

|
|
Please make sure that all wiring and soldering is double checked before re-applying power. Though computer components are pretty hardy some do not take to being
wired up backwords or incorrectly. I have done my best to make sure that all diagrams
and instructions given here are correct, but I can not be responsible for any damage
an incorrect upgrade might cause. Also keep in mind that this will probably void any warranty :>).
|
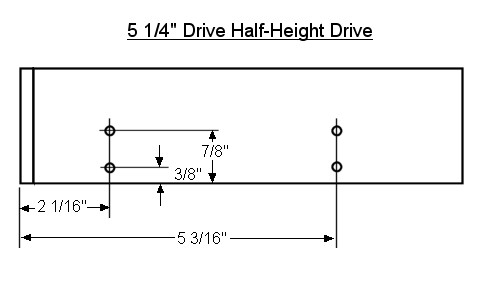
The above drawing shows the approximate measurments of the holes on a standard 5 1/4" drive.
|
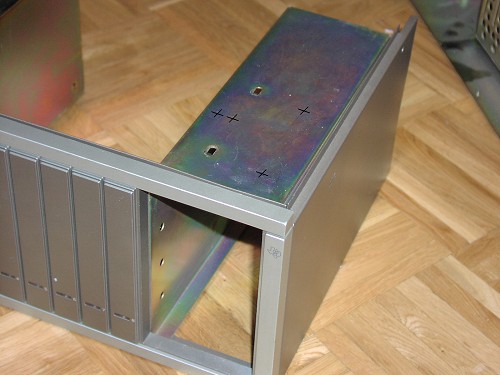
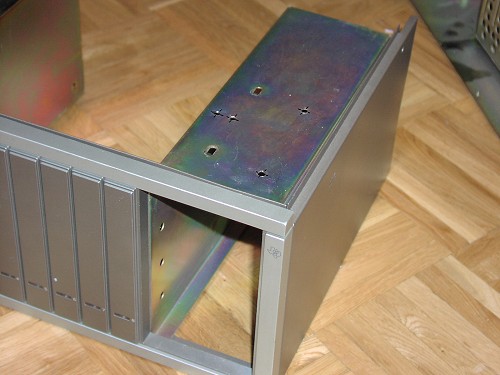
This picture shows the PEB disassembled and the x's show where I measured for the proper placement
of the holes which will be used for the screws to mount the drives.
|
Drill the holes out, and make sure you remove all the metal fillings. The standard TI drive that was
installed in the PEB had screw holes located at the top of the PEB and on the bottom. I felt that trying
to line up the bottom holes for the drives would be too much trouble so I am electing to only attach
the drives using screws on one side. This, of course, will hold them, and lets face it, how many of
us really put the bottom floppy screws back in?
|
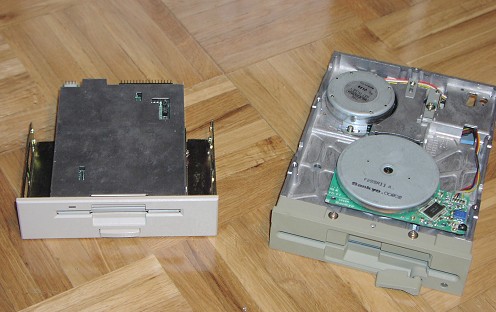
Here is a shot of the two drives that I will be installing in the PEB. As you can see one is a 5 1/4"
drive and the other is a 3 1/2" drive. There are many brackets still available to convert a 3 1/2" drive
to fit into a 5 1/4" opening. The 3 1/2" drive above already has these brackets installed. Keep in mind
that where you drill the holes depends on the type of bracket you use.
|
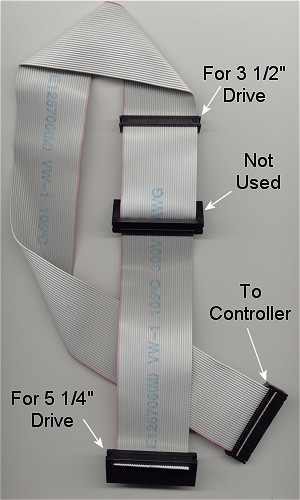
This picture shows a floppy cable which I modified to work in the PEB. You can build your own, or
you can order one here. If you do make your own, be sure to leave enough cable between
the connectors for the 3 1/2" and 5 1/4" drives to give some room to work with drives.
|
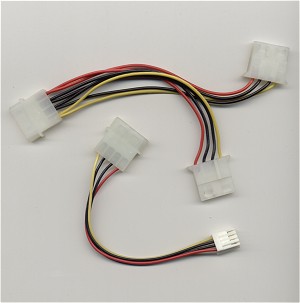
The PEB only supplies one power connector for the drives so some sort of splitter will need to be used.
The picture above shows a typical power splitter. Since I was also using a 3 1/2" drive I needed another
cable which converts the standard power cable to one that works with a standard 3 1/2" drive power
connector. This is shown also. You can order these cables here.
|
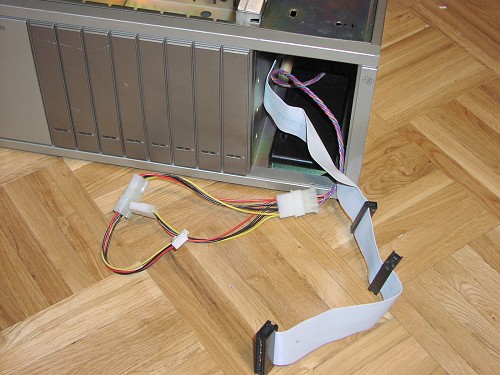
This picture shows the PEB re-assembled and all cables attached to the PEB. I have already plugged the controller end of the
floppy cable into the disk controller card.
|
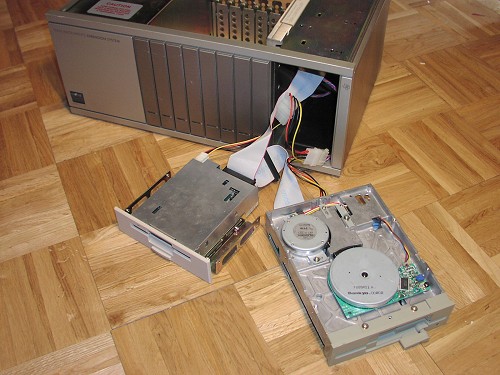
As you can see in this picture I have the drives attached to the cables, and at this point they are ready
to slide into the PEB.
|
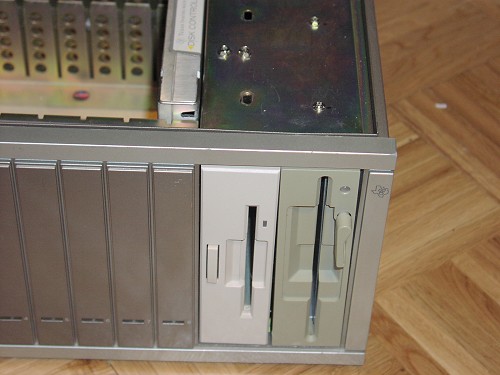
Here you can see both drives are installed and attached with their screws.
|
Here is the PEB with both drives installed and ready for action!
|
